Showing posts with label design. Show all posts

Wednesday, 8 May 2013

2013 Upcycling Workshops

Dream catchers, great and small.
 Using salvaged roundy bits (like bits of yogurt tub [shown above], bicycle tyre and hubcap fastenings), reclaimed yarn, scrap fabrics and plastic bags, make yourself a dream catcher.  

Paper bead jewellery
Make elasticated bracelets and necklaces out of paper beads that you design yourself using monochromatic newsprint, or bright junk mail!


 Junk Modelling Free-for-all
I provide the tools and materials, you provide the creativity! Brilliant for drop-in sessions, younger and SEN children, get busy with card, plastic, sticky tape, hole punches, felt tips, scissors and see what you come up with! 
Above is a tank turret and submarine....


All these can be run at your venue, a 2 hour session costing £3/child, minimum 5 participants, or at The Green Place in Sileby, £4.75/child, minimum 10 participants.

Tuesday, 30 April 2013

Paper, Cream & Chrome

I have finished designing my April 2013 jewellery range, here is a sneaky pictorial peek!


So, these are being added to my Etsy store as I type (multi-tasking, a joy of motherhood). If you are interested, check'em out, and share with your mates :)

Monday, 25 March 2013

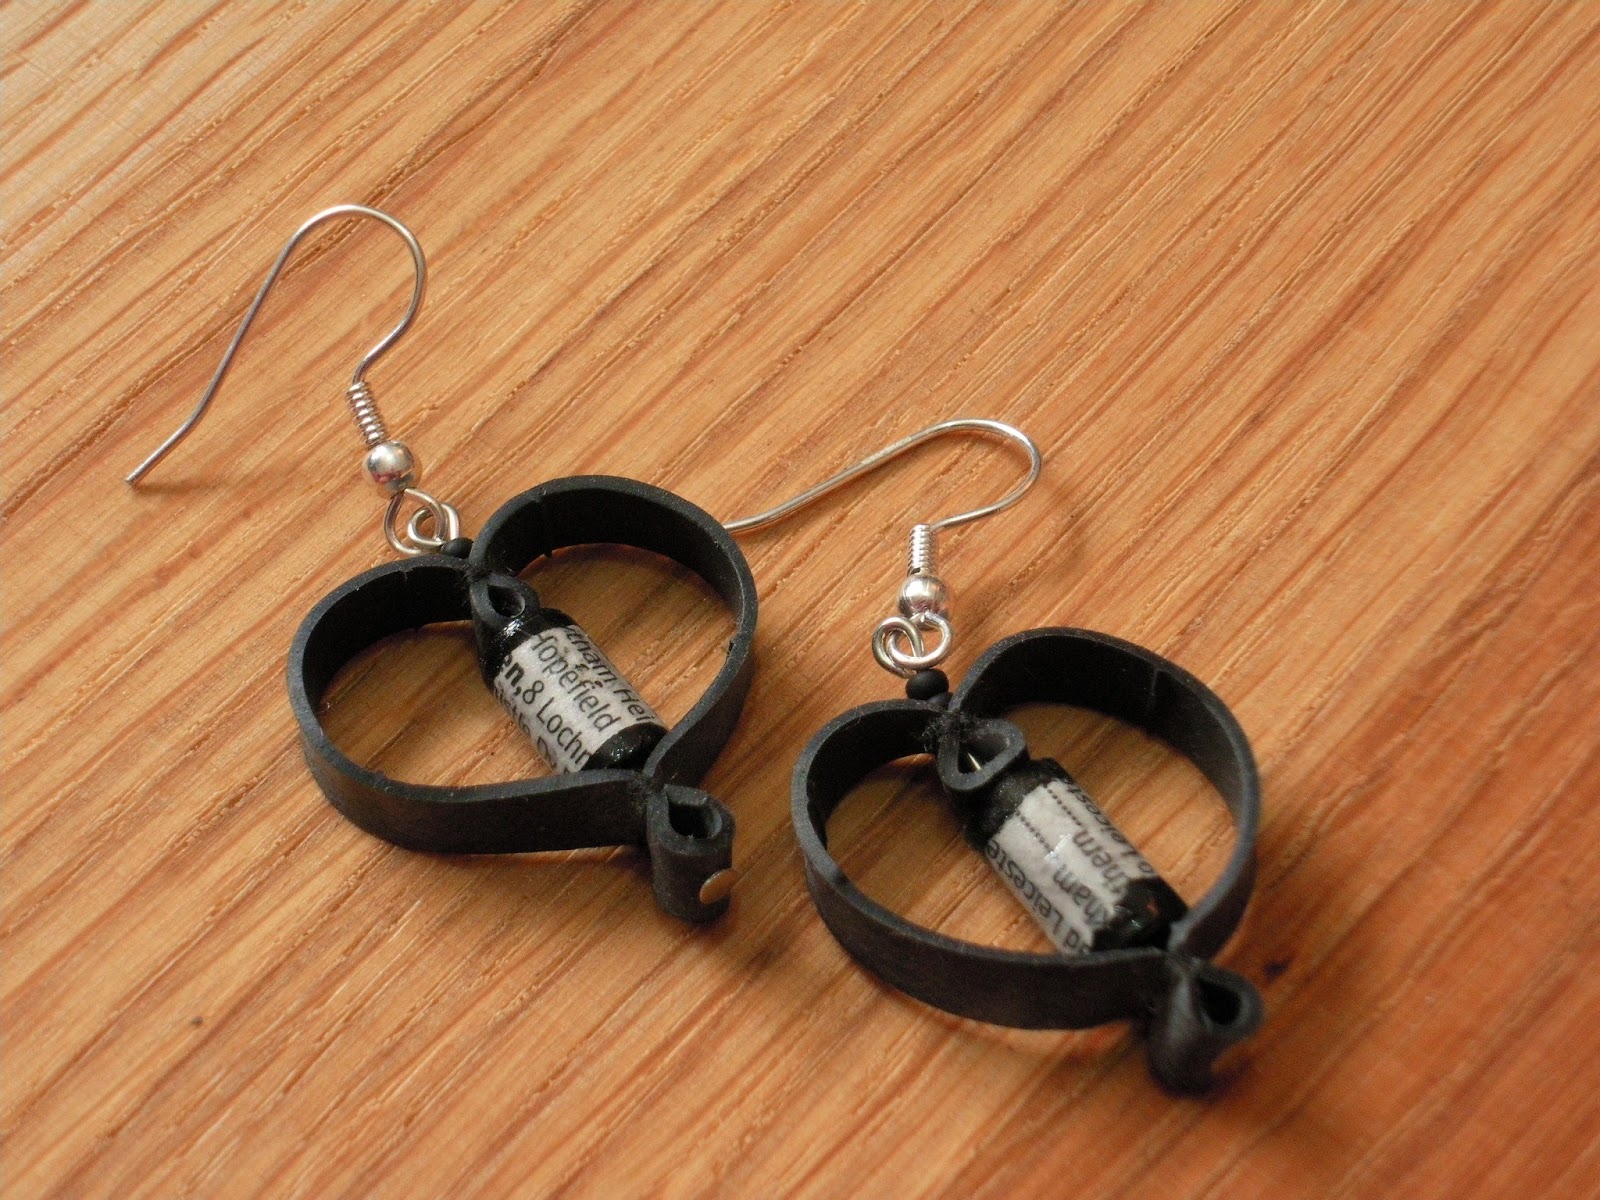
Teardrop Innertube earrings

I have been having lots of fun with upcycling bicycle innertube recently. We are a cycling household, and so far I haven't needed to source any from elsewhere, but that may all change soon. These are my most recent, a teardrop shape. They are available from my Etsy store HERE.

Friday, 2 November 2012

Hot water bottle covers

Seem to be on a theme here, don't I? 
Hot water bottle covers where something I tried a couple of years ago, when going through my daughters baby jumpers. some where a little worse for wear, or too loved, to leave our household. I found some knitted ones, with stretchy enough necks for me to slide the water bottle through it, then I traced a hot water bottle onto the (inside out) jumper, and just sewed around that line. Bingo! 

I have made them from brushed cotton night shirts,

zip up cardies, and larger than baby clothes too. 


                                                                                                                                                                    some get the sleeves sewn in, so your hot water bottle can give you a hug:)

Friday, 19 October 2012

sew what?


As well as all this knitting and beading, I do a fair amount of sewing. Well, some of my acquaintances would call it an unfair amount of sewing, but I'm happy either way! Well, due to an injury I have been less able to knit so far this autumn, and my creativity has been more aimed at my cooking and sewing, “sew” here is a recent project!


When I moved into my current house, the previous owners left us most of their crud. There where 10 or so bin bags in the back garden, and I couldn't just put them out as trash, I had to check for treasures, recyclables, and charity shoppable items. I got it down to a pretty low refuse count in the end, and reclaimed some bed linen, bedding, curtains and blankets. After a lot of laundering and airing (they where smokers, and I have sensitive smelling abilities as one of my super-powers), sorting, blah blah blah, I got to a single brushed cotton sheet with a tear. After a few years on the toddlers bed, tucked in various ways round, it then became redundant. But I did need some pillow cases...

you can get 3 oxford style buttoned pillow cases out of a single flat sheet.
Some will be a bit thin in places, but try to place these bits on the back of the pillow case.

So, I cut my sheet sideways into thirds. I lost 1 third due to the tear:( Inside out, layed it down next to another pillowcase for size guidance, and folded it so that the opening is on the top, with the larger side on the very top.
Pinned this all together, and sewed down the sides. The sheets edging will provided me with instant finishing for the flaps!
Turned this the right way out, and pressed. Measured how much wider my case was than the pillow that is going in it(this may well be a standard size?). Divided this by 2. checked the ends too, as they where a bit different. Using a rule on my machine, I then stitched a border around my pillowcase this wide.


I then popped a pillow in at this point to see whether I was happy with the closure. I wasn't. The pillow inside was bulging out a bit, so I sewed 3 buttons on to the top flaps border, then marked button holes on the lower flap, so they would button to the inside of the case and not be uncomfy if(when) the pillow flips in the night.


Sorted.


I find the children appreciate these upcycled projects I do, as they recognise the new pillow as being their old sheet that was useless, and love it even more!

Tuesday, 31 July 2012

Little Gem dress


The lace in this pattern reminds me of lettuce! This project is worked in the round with a provisional cast on, lace, ribbing, raglan shaping and picot edging. The raglan being worked bottom up gives crisper decrease lines, while the skirt down allows you to relax about your yardage. Perfect item for an heirloom christening gown, or just a special summer dress.

Knit on 4mm circular needles using Manos Del Uruguay Silk blend, this pattern is written in 3 sizes from 6-18 months.


£3.50

Monday, 28 November 2011

Bubbles


Funky garments for boys can be a hard thing to get right. This pattern has a visually simple but engaging twisted stitch panel, and a very ”useful” seamless shape, knit in the round. Match this with a washable yarn in the “right” colour, and it is bound to be a hit, both to wear and create.

Bring it, Winter!

Knit on 4mm circular needles using James Brett Marble, this pattern is written in 3 sizes from 3-10 yrs.


£3.00

Sunday, 13 November 2011

designing for magazines


Designing a pattern is an interesting process to me, and I have honed it a lot in the past year I have been concentrating on it. Not far off my goal of 1 a month for a year, it now takes me half the time from inspiration to publication.
I think some of this is due to my rigorous note taking and formula writing, but also my process has been helped by my attempt to get my patterns into some magazines, both in-the-flesh ones and online.(which, by the way, I have done, here)

Working in a template, seeing the common factors for pattern submissions, and the more abstract concept submissions some go for, they all give some insight as to how to put across your own creative idea to another individual. This has then been useful for working on many projects of my own, skipping from one to another, and shifting my inspiration, without making them all become the same, as I record, photograph and sketch and summarize along the way.

So, the money isn't great. 70 quid for one or two full weeks work when I have young children is a little irksome. And giving someone else rights to my work is a little concerning too, I can't quite put my finger on it. But if at the end my process and therefore patterns are better off and more polished, and I get more airtime, that has got to be worth the hassle, at least for now.


Image courtesy of Kate Heppell, Practical Publishing

Monday, 7 November 2011

beading workshops nov-jan

I have been running beading workshops for about 9 months, from my home in Thurmaston, on a monthly basis. So far I have mostly been facilitating the participants own inspiration, helping with and suggesting new techniques, and sorting things out when they have gone wrong! I am now getting the feeling that some more formal instruction would be beneficial to these sessions, in terms of being exposed to new techniques and project ideas.

These sessions are now evolving, and need booking in advance, so I can plan the topic, and invest in the materials. The timing has changed too, to eliminate the lunch break that was always rushed, and took away precious beading time!

The main reason I have set an age limit on this group is due to the level of input younger students need. I teach in a hands-on way, moving round the group and seeing how each student is doing, and helping them move on. I notice that I invariably spend more time with the younger ones, even with this age cap, so I wouldn't want to extend the range of this group.


Thursday, 10-1.
Each session costs £7.00

17/11-Baubles
15/12-Tassels
12/1-Brick stitch chains


Please email me for a booking form.
Additionally, I am looking to run another regular session in the south of the city, so if anyone wants to host it I would love to talk to you!

You can also book me to run any session I have done before, for the cost of £10/hour, plus materials and travelling costs.


TOPIC DESCRIPTIONS

Baubles
jazz up an ordinary-looking bauble into something astonishing using seed beads and bugles. Some good examples can be seen in Julie Ashfords book .

Tassels
using seed beads, sieves and donut beads, create tassels with festive charm, or just plain fun! Take a look in the book above, or just search Google for examples.

Brick stitch chains
A versatile and technique, Brick stitch is a rather different way of building up a beaded fabric, and can be put to many uses. We shall be making thin hoops, and linking them together, rather like a paper chain...

Friday, 28 October 2011

Showcase Slouch Sox

Showcase Slouch Sox


A sock designed to show off your best handspun or luxury yarn, whilst providing a long-lasting garment. Written for 2 weights of sock, and in 3 sizes, Small(Medium, Large).

£3.00


Friday, 21 October 2011

Eresor

Eresor

The need to come up with a pattern to mark a relative graduating as an Osteopath gave birth to this spine-inspired shawl.
The gauge of yarn makes Eresor quick and snuggly, good to have around the study for chilly evenings hunched over a laptop..
Blocked measurements:
Depth 85cm, Width 124cm.
Knit in Colinette Art from 2 skeins.
£3.00


Friday, 12 August 2011

Culverkeys

Inspired by the flowers my daughter is named after, this pattern is perfect for windy spring days. Or knit it in a wool yarn to make a snuggly winter hat!
Knit from the bottom up on circular needles, Culverkeys is designed to be a versatile pattern, with 4 sizes ranging from baby to medium adult, and adjustable hat depth.
fully charted, with written instructions too.

Shown here in Patons Smoothie Dk.
£3.00

Monday, 27 June 2011

Nobble-top cocktales

First pattern to be released in my CIHC bootie collection.
£3.00

Fun and wearable, these Booties will be worn until they are lost! Knit in a superwash wool for washing, with no seams for comfort, and a tall ankle to stay on better. Includes advanced techniques so you don't get bored too.

Shown here in CIHC Wow, super aran!, in Over the rainbow and Teal colourways. the pattern is written for newborn, 0-6 months, and 6-12 months.


Or alternatively, buy a pair from my etsy store, for £15

Monday, 13 June 2011

shoemaking!!

I have had this yen to make some shoes.
It all happened after I went shoe shopping in my lunch break last week. Got some shoes that would not wear away the heels of my beautiful handknit sox I have made out of inappropriate yarns. very comfy Alegrias, from PG Lite. But boring! There where some outragious Rocket Dog clogs, with crochet uppers and wooden soles, but they didn't fit me, as I have rather wide feet. I came home with my boring comfy clogs and thought "I must be able to make these myself". Unfortunatly the Interwob had other plans. I could not find any decent info out there on clog making. Lots of demo videos on youtube, but nothing concise. Unless I wanted to either take a week course in London for £££££ or an undergrad course at Demontfort Uni. No thanks!!

So last week me and the Girl started on a pair, and here is the first episode in our journey.


First, we found our wood. Oh, how convenient! the trees we got off the building site behind our house are sycamore, a good wood for clog making, as it splits less as it dries out. Alder could have been a good choice too.

Next, I sawed a longer-than-foot-sized piece off it. It had been there a while, and I figured the end might be a bit less nice. I was right! I like to use my legs to brace wood when I am rough sawing, and this time I just used the woodworking(is it a crosscut?) saw in the cupboard. I was impressed at the way it handled the green wood. I would have gone for a Bow saw, if we had one. Then for splitting. taking the saw again, I made a cut across the top of the log, following the largest radial split. That was to try and eliminate my work splitting further down the line.

When the cut was deep enough to hold it in place, I took the splitting axe and centered it in that cut.
The next bit could have been easier with another pair of hands(by this time the Girl had started her own project).
balancing a piece of wood on the back of the axe, I took a lump hammer and had a smack at it. repeat as necessary.


When the axe "bit", I did away with the wood and hammer. turned the whole affair upside down and dropped it on said wood several times, using the weight of the log to drive the axe in, and split it!!

The split was quite clean, with only minimal twist. Dunno if that is to do with the wood. Who cares, I'm happy!
So, figured our how wide I wanted it by putting the "master" clog on end of the wood and snapped a line across the ball. Took an axe and trimmed the edges of the half-log down to size.


Above you can see the two different axes I was using. On the left was the splitting axe, which has a wedge-shaped profile, therefore driving the wood apart. The one on the right has a Kent axe head, and that has a thinner blade, so more useful for trimming and shaping the wood.


To be continued....

Sunday, 1 May 2011

Fancy spats

An innovative accessory for jazzing up boring shoes, or wear as frilly wrist warmers. In 4 sizes from toddler to large adult, techniques needed include jogless joins, picking up stitches and knitting in the round. shown here in debbie bliss cashmerino aran.                                         


FREE!!

  .